Camera settings
Phone Camera Settings for Vertical Video
The settings that matter when your final frame is taller than it is wide, and the order in which to change them.
In this guide
Start with the delivery format
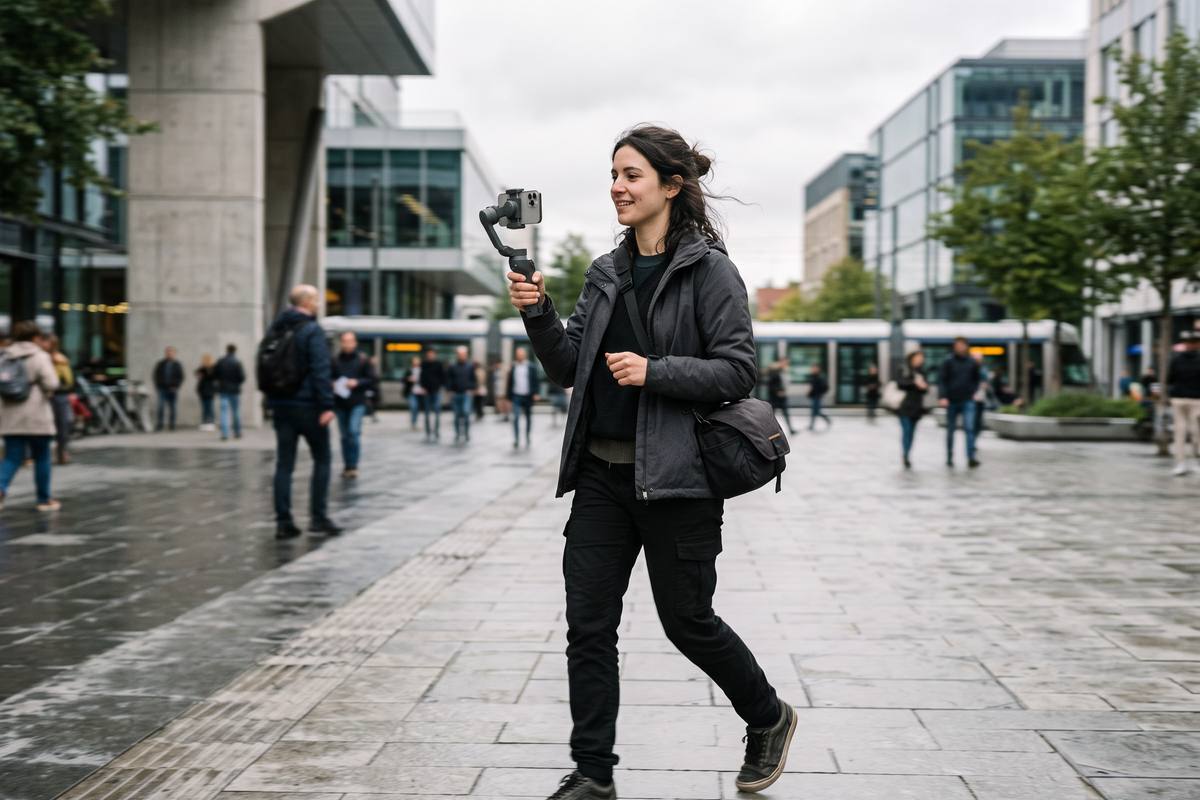
Before touching a single setting, decide where the clip will be watched. If it is going to fill a phone screen from top to bottom, you should film natively in portrait. Cropping a landscape recording into a vertical frame throws away more than half the sensor and leaves you with soft edges and very little room to reframe.
Once portrait is confirmed, the useful questions are only four: how much resolution, how many frames per second, where the focus sits, and how bright the image should be. Everything else on the camera screen is a convenience, not a decision that changes quality.
Resolution and frame rate
Higher resolution gives you room to crop, stabilise or push in during the edit. It also produces larger files, more heat and, on older phones, a frame rate that drifts when the device warms up. A reliable rule: shoot one step above what you need, not the maximum the phone offers.
Frame rate should stay consistent within a single clip. Mixing 24, 30 and 60 frames per second in one sequence produces small stutters that viewers notice even when they cannot name the cause. For most talking and product footage, 30 frames per second is the safest choice; use 60 only when you plan to slow the clip down in the edit.
- 1080p at 30 fps: the dependable default for talking clips and product shots
- 4K at 30 fps: choose it when you will crop or stabilise in post
- 1080p at 60 fps: use for movement you intend to slow down
- Avoid switching frame rates between takes in the same sequence
Focus and exposure locks
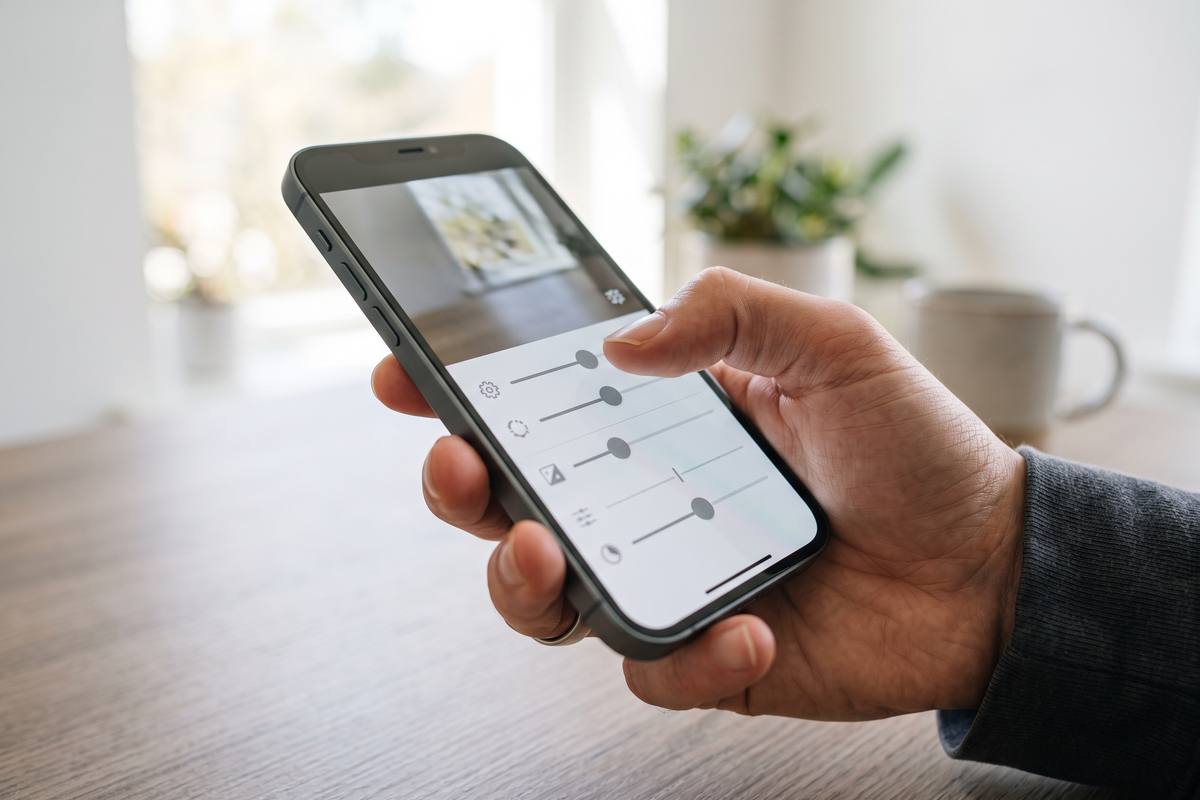
Auto focus is designed to find a subject quickly, not to hold it. In vertical framing the phone often decides the background is more interesting than the person, which is why so many clips drift in and out of sharpness mid-sentence. Tap the subject and hold until the lock indicator appears, then walk into the frame yourself to confirm nothing changes.
Exposure deserves the same treatment. Lock it, then pull the slider down slightly. Screens and skin both recover from being a little dark; they never recover from being blown out. If the room is genuinely dim, add light before you raise exposure, because raising it also raises visible noise.
Settings to leave alone
Digital zoom, beauty filters and baked-in stabilisation effects are the three settings that most often reduce quality. Digital zoom simply crops the frame and enlarges the pixels; beauty filters soften skin texture permanently; aggressive stabilisation crops the edges and can add a swimming motion to slow pans.
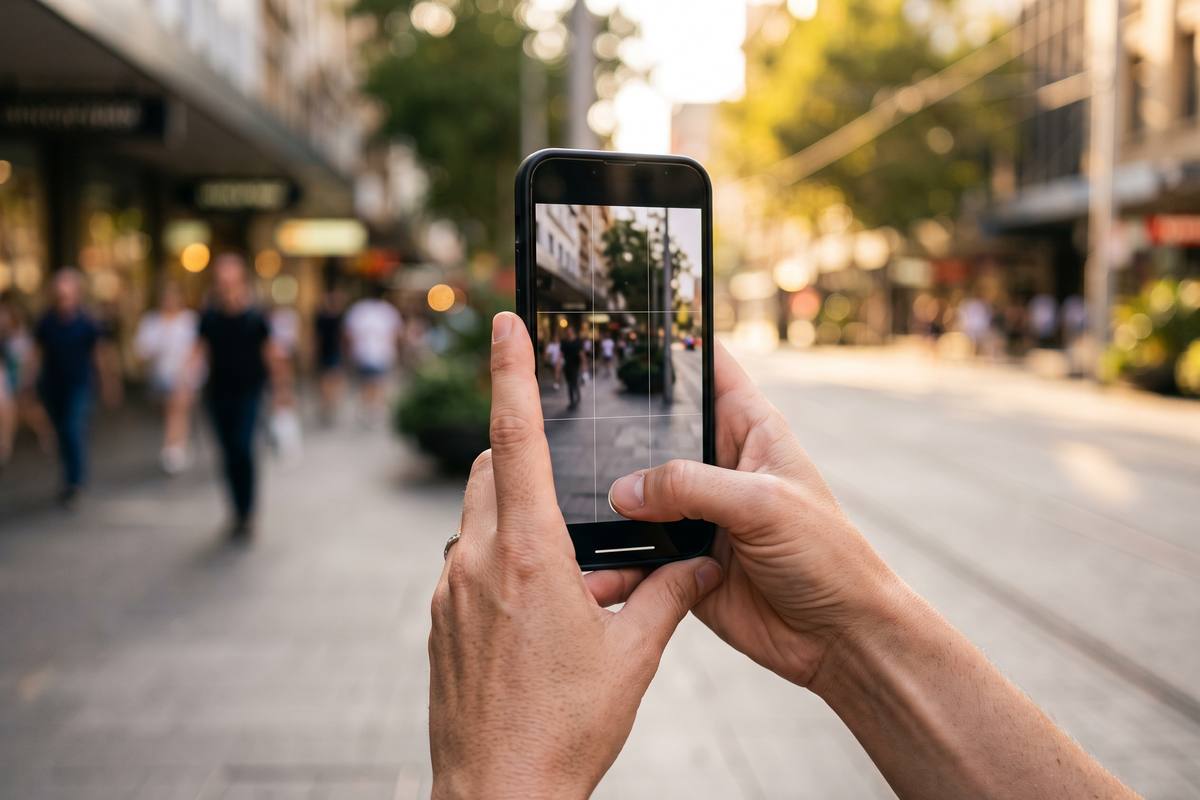
Keep a grid overlay switched on. It costs nothing, it does not affect the file, and it turns framing from a guess into a measurement. If your phone offers an HDR video mode, test it before a paid shoot: it looks excellent on recent screens and unpredictable in editing software.
Key takeaways
- Decide portrait or landscape before you press record, not in the edit.
- Shoot 1080p at 30 fps as your default and only go higher when you will crop.
- Lock focus on the subject and lock exposure a touch darker than the phone suggests.
- Leave digital zoom, beauty filters and aggressive stabilisation switched off.
Vertical Video Lab editorial teamWe test every technique on consumer phones before it appears here, and we update the guides when camera apps change.
Does HDR video help vertical clips?
It can look excellent on modern screens, but the extra dynamic range is also harder to grade and can shift colour between devices. Test it on your own workflow before relying on it.
Why does my phone heat up so quickly?
High resolution, high frame rate, screen brightness and background apps all contribute. Dropping one step in resolution and closing other apps keeps the frame rate stable for much longer.
Should I film with the front or rear camera?
Use the rear camera for anything you want to look sharp, and check the result in the mirror of your screen. Front cameras are convenient but usually have a smaller sensor.