
Camera settings
Settings the phone will not choose for you
Resolution, frame rate, focus and exposure lock all behave differently in vertical orientation. Locking exposure before a take is the single fastest quality upgrade available.
Shooting guide for phone creators
A practical library for anyone recording short-form video with a phone. We cover camera settings, framing, light and movement step by step, in plain language, with the routine we use before every take.
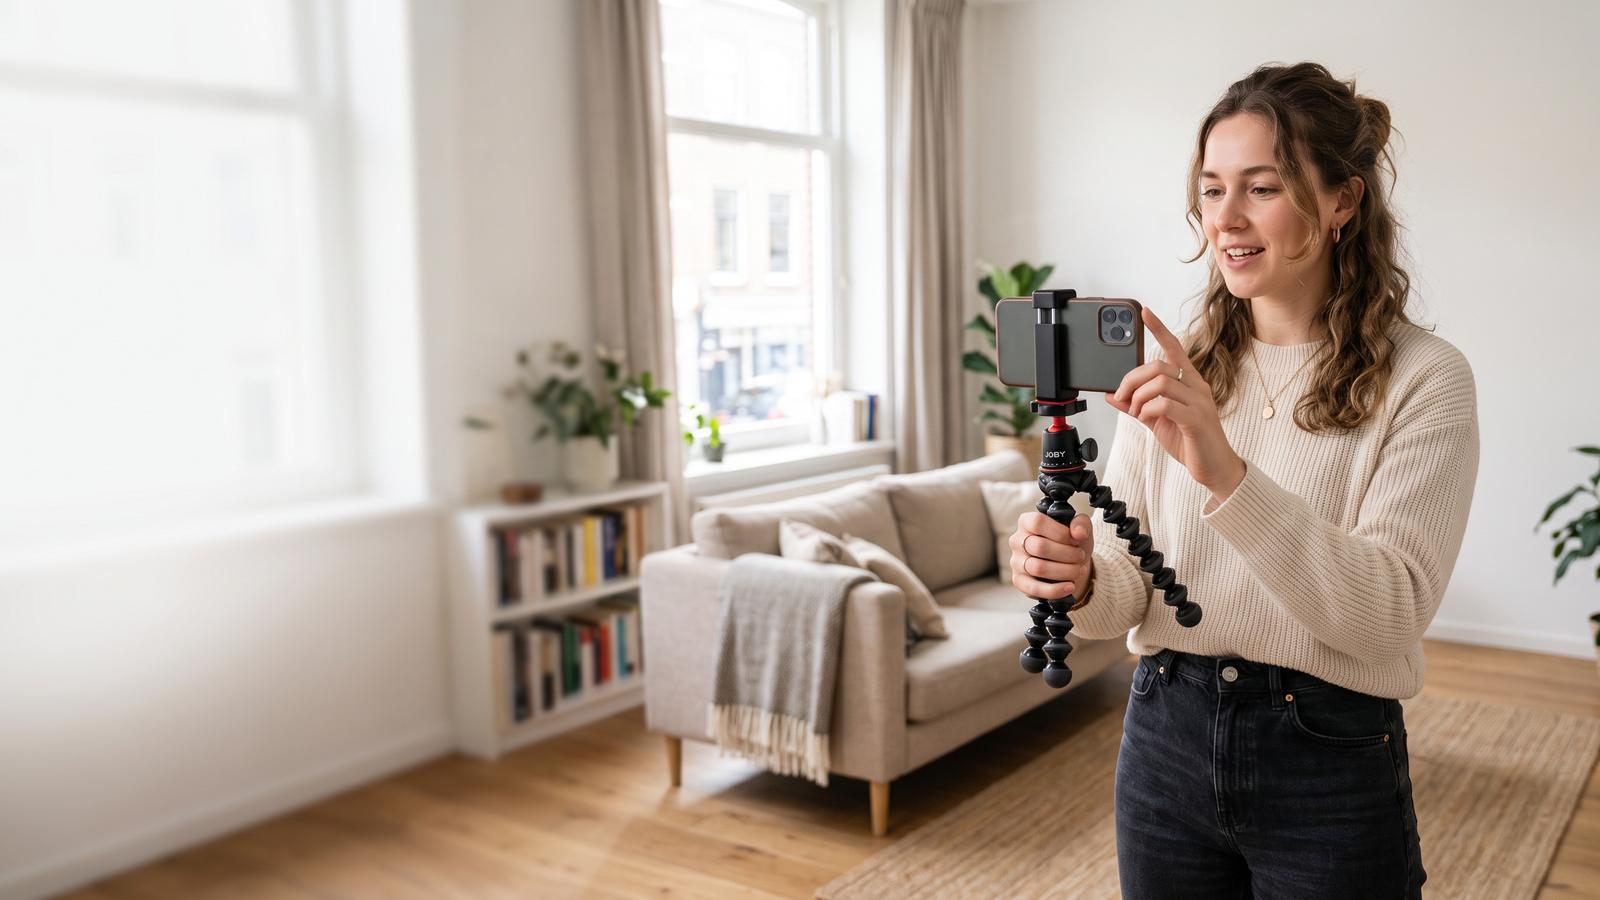
Where to start
Most soft, shaky or badly framed vertical clips are not caused by expensive equipment. They are caused by three decisions made in the first thirty seconds: where the camera stands, what the light is doing, and which settings the phone is using.
This site collects the working notes of our editorial team: a small group of producers, editors and camera operators who shoot vertical video every week for client work. Every guide follows the same structure, so you always know what to expect: what the technique changes, the exact steps, the mistakes we see most often, and how to tell whether it worked.
You do not need a cinema camera, a lighting kit or a gimbal to follow along. A phone released in the last three or four years, a window, and something to lean the phone against cover the vast majority of what we teach.
The fundamentals
Fix these first. Better gear changes very little until the basics are consistent.
Camera settings
Resolution, frame rate, focus and exposure lock all behave differently in vertical orientation. Locking exposure before a take is the single fastest quality upgrade available.

Framing
A 9:16 frame has less room on the sides and much more above and below. Where you place the eyes, and how much headroom you leave, changes the whole read of the shot.
Movement
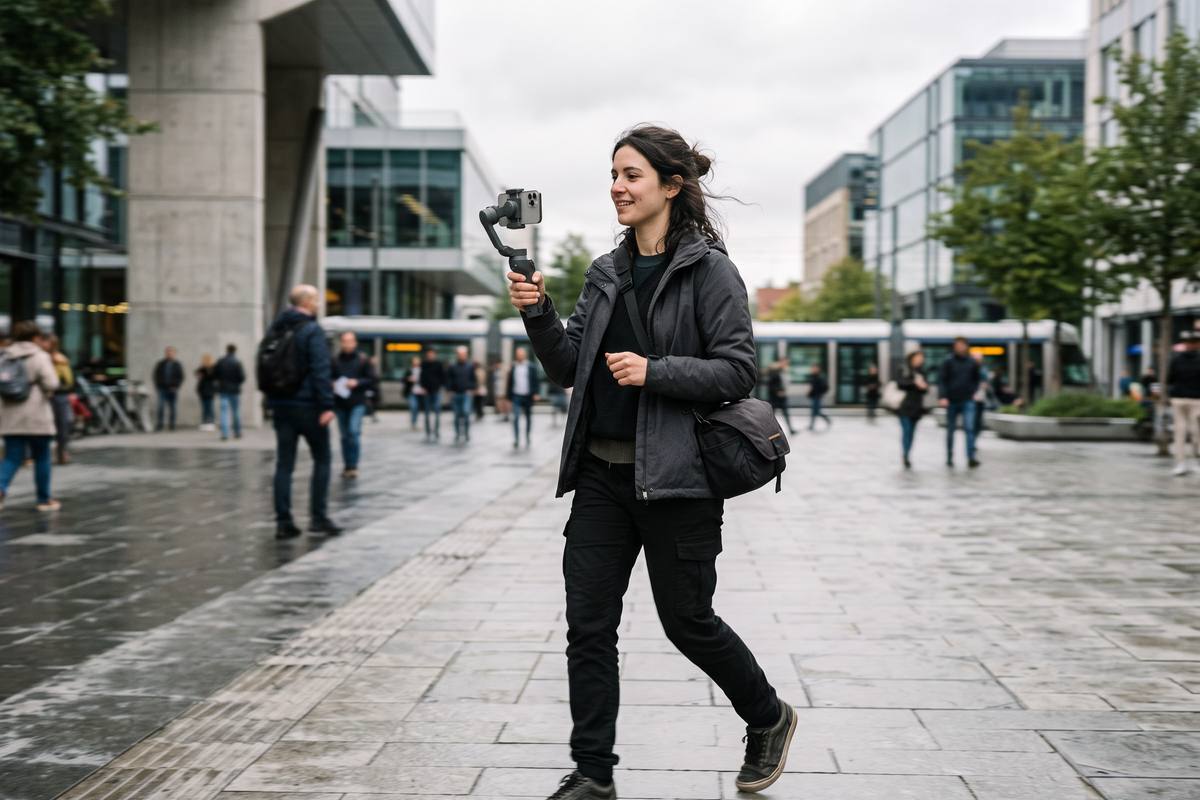
Most shake comes from the arms, not the legs. Two small changes to how you hold the phone remove more wobble than most stabiliser apps add.
Settings
Vertical video is cropped by the sensor, so the phone works with a narrower slice of the scene than it does in landscape. That has two practical consequences: you gain a little more depth compression, and you lose light sensitivity at the edges of the frame.
The fix is not a bigger camera. It is choosing a frame rate your phone can hold steadily, locking focus on the face rather than the background, and dropping exposure slightly so highlights on skin and product surfaces stay intact.
Routine
Consistency is the difference between one good clip and a week of usable footage.
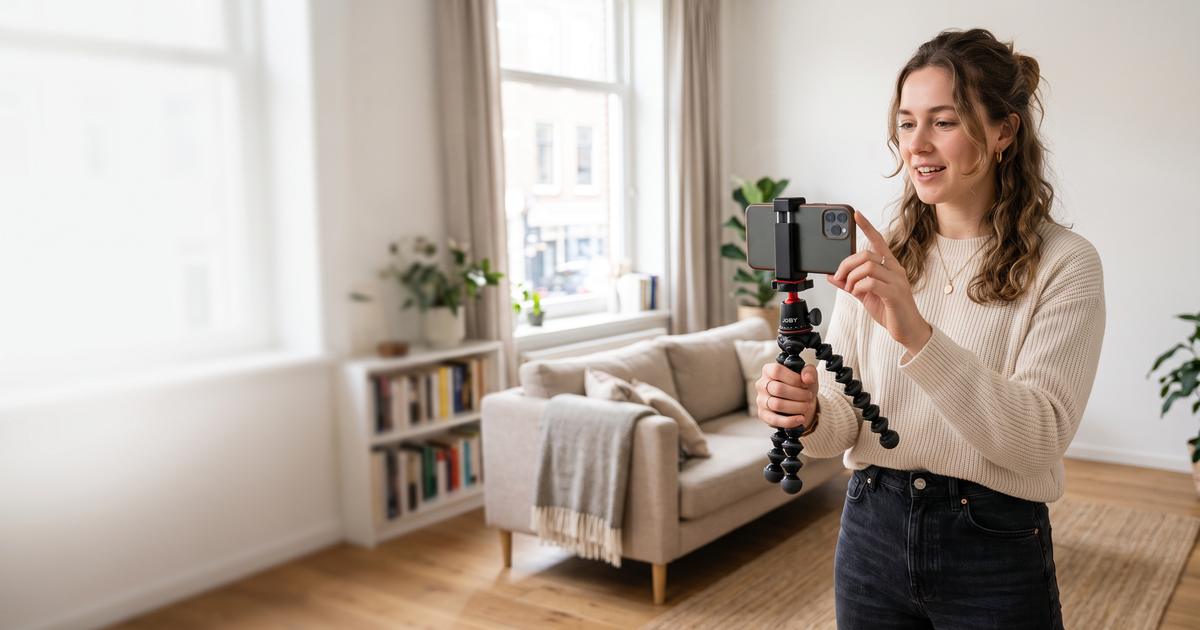
Walk the space, pick where the subject stands, then set the phone height roughly at eye level. Move the phone, not the subject, until the background supports the shot.
Find where the brightest source is. If it is behind your subject, either turn the subject around or add a white surface to bounce light back into the face.
Tap the subject, hold to lock, then drag exposure down a notch. This stops the phone hunting mid-sentence, which is the most common reason clips look amateur.
Watch it back before the real take. Check sharpness on the face, the top of the frame and the audio level. It costs five seconds and saves whole sessions.
Before you press record
Run down this list once and most avoidable problems disappear.
Questions we get weekly
Only if you plan to crop, reframe or zoom in the edit. If you are publishing the clip as recorded, 1080p at a steady frame rate is usually sharper in practice because the phone processes it faster and heats up less.
Softness usually comes from three sources: the lens being smudged, the phone hunting for focus mid-take, or shooting in low light where the camera lowers shutter speed and picks up motion blur. Clean the lens, lock focus and add light before changing settings.
No. Good posture, a two-handed grip and short deliberate steps remove most shake. A gimbal helps for walking shots and long continuous moves, but it will not rescue a shot that has no plan.
Shoot in shorter takes, drop from the highest resolution to the next one down, close background apps, and move the phone out of direct sun between takes. A cool phone holds a steady frame rate far longer.
Film natively in portrait whenever the final delivery is vertical. Cropping from landscape throws away most of the sensor, reduces sharpness and limits how much you can reframe later.
Guides
Each guide takes about eight minutes to read and ends with a checklist you can use on your next shoot.
Camera settings
Resolution, frame rate, focus and exposure explained for tall frames, with the settings order that stops mid-take hunting.
Framing
Where to put the eyes, how much headroom to leave, and how to use the tall frame instead of fighting it.
Movement
Grip, posture and walking technique that remove most visible shake before you spend money on stabilisers.
Questions
If a technique is not working with your phone or your space, write to us with the details. We answer every message and often turn the answer into a guide.